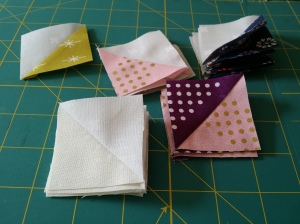
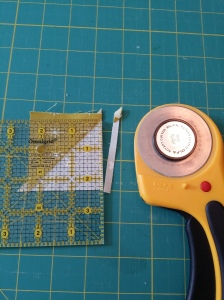
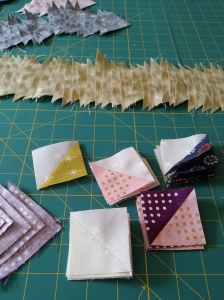
Let’s talk about half square triangles (HST). They are so frequently the building block to many of our favorite quilt designs, yet there is a key step that always gets skipped when it comes to blogging. There are at least 3 great ways to make Half Square Triangles, but what people usually don’t mention is how to clean them up so they are useful!
It is a rare day when you don’t need to trim down your HST. Most pattern makers even plan for this to happen so they give you extra room, and when you’re working with a bias seam like you do with HST, it’s better to just forget about the fabric waste. Besides trimming piles are extra cute and fulfilling, not to mention they make great recycled filling for small softies.
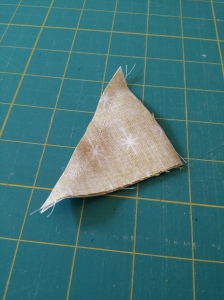
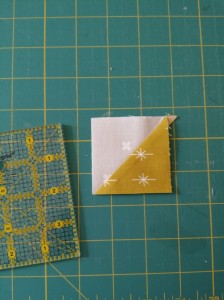
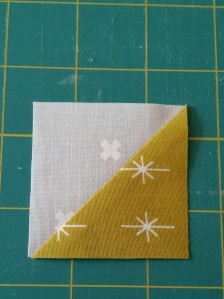
So, almost any method you choose to sew them you will end up at a point when your HST looks something like this, isn’t it sad? Like an empty wonton.
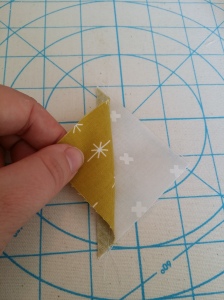
Head over to your pressing station and give it a little love. Really, make it hot and steamy (cotton can really use a hot steamy iron). I always start by pressing the lighter half first, letting the other half rest on top of the iron for now.
As you iron slowly push the seam allowance towards the darker half, folding it flat beneath the second half of the HST and pressing from the center outwards across the seam.
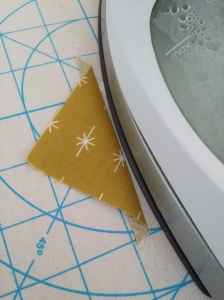
Pressing the lighter half of the HST first, notice the seam allowance is pushed towards the darker half.
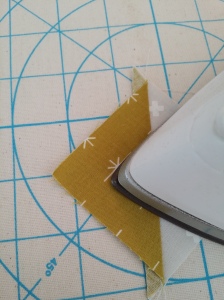
Use the point of the iron to slowly fold the darker half flat over the seam allowance, starting in the center, then pushing forward to cover the whole square.
Remember, you are working with a bias seam, so you want to be careful not to stretch or pull as you iron. Consider laying the seam over a guideline so you can try to press it straight, this will help when it comes to trimming.
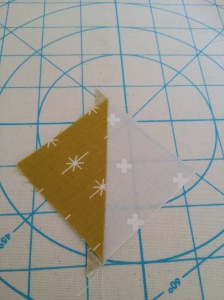
The pressed HST, notice how straight the center seamline is and how the seam allowance creates dog ears folded towards the darker half of the square. Also notice there is no rippling or bubbling caused by pulling the bias.
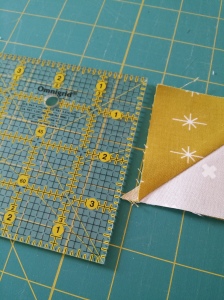
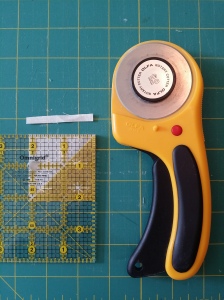
If you have never taken the time to become familiar with the markings on your rotary grid ruler, now is the time! All of those extra markings are just what you need when trimming angles or perfectly trimming your HST with the diagonal straight through the middle. I like to work with as small of a ruler as possible at all times, so here I used a 4 inch square omnigrid clear rotary cutting ruler.
Note: If you are right handed, you will hold the rotary cutter in your right hand, and the ruler in the left. Whenever possible, place the ruler over the part of the piece you plan to use, keeping the waste fabric available to cut off –this will keep you from accidentally cutting into your piece if you lose control.
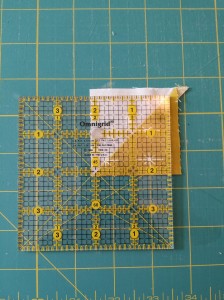
Carefully align the diagonal line on the ruler with the diagonal seam line. At this point we want to make sure that the remaining square (protected underneath the ruler) is larger than our final cutting dimension. In this case, I am trimming to 2 1/8″ square, so as long as the bottom and left border are beyond that I am happy.
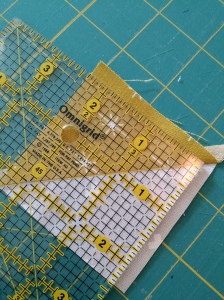
Notice the diagonal is aligned and the protected portion of the square is beyond 2 1/8″ in each direction from the edges of the ruler.
This is the point where I cheat a little. Instead of cutting one side, then rotating the fabric and repositioning the ruler, I make two cuts at once.
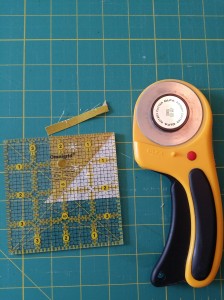
This cut is parallel to my hips, meaning I had to be extra careful to not lose control and let the blade or ruler move as I cut from right to left.
Noted: Admittedly, this is risky because the second cut is parallel to my body rather than perpendicular, meaning I have less control of the rotary cutter. Ideally, we should all only cut perpendicular and away from our body, pushing the rotary blade straight forward from the elbow (see the next image).
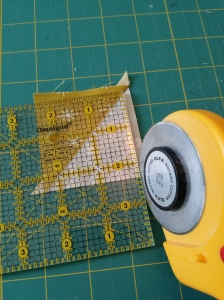
In this image, you can see that I hold the rotary against the edge of the ruler and push the blade away from the body, providing the greatest control.
At this point, I have trimmed two sides of my HST. I can now rotate the HST so my raw edges are once again above or to the right of my planned ruler placement.
Again, I place my ruler with the diagonal aligning with the seam. However, there is one major difference, this time when I place my ruler, I will carefully align the left and bottom edge at my final cutting dimension, 2 1/8″.
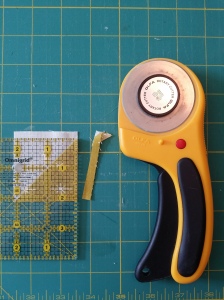
I am now ready to make my final two cuts.
So there you have it, a perfectly trimmed HST!
Now I only have a few dozen more!

